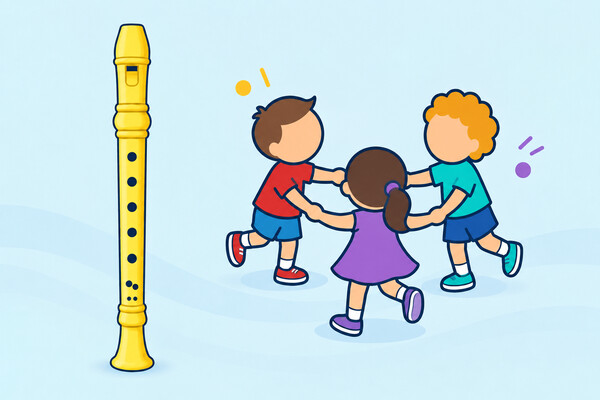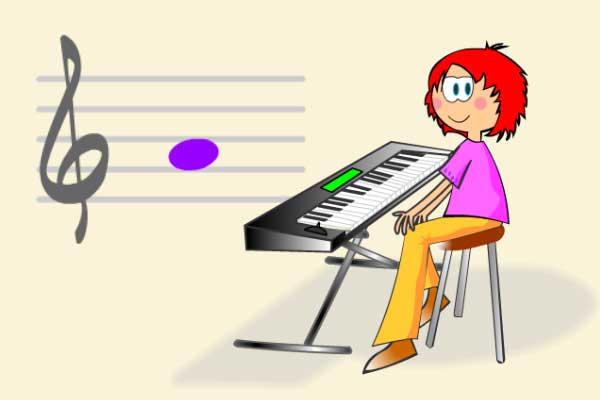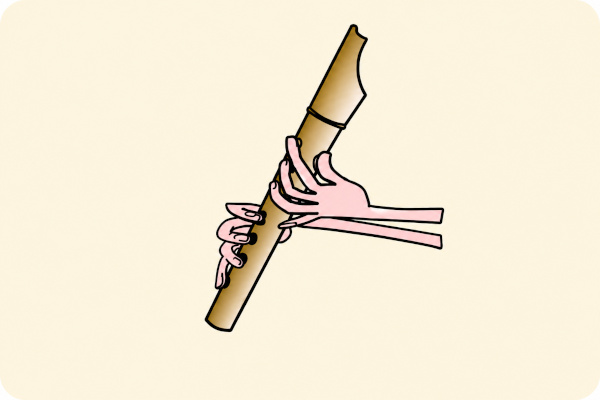
A recorder that shows where the fingers go, plays the note and draws it on the staff. Use it to look up fingerings note by note and to practise in two ways: with echo exercises for the whole class (the screen plays, the group repeats on their recorders) and with solo exercises, where the screen listens to each pupil, scores them out of 10 and gives advice.
Four ways to use it
When the game opens there are four buttons. Each one suits a different moment of practice:
Look-up. Move the mouse over a note (or tap it on a tablet) and it plays, the fingers go onto the recorder and the note is drawn on the staff. You can also tap the staff to choose the note. It covers low C to high A, with F♯, G♯ and B♭.
Personal practice. Each pupil ticks the notes they know and the screen gives 10 rounds: they see a note, play it on their recorder and the microphone listens.
Classroom practice. The screen plays a short rhythm on one note and the class repeats it as an echo, with a metronome in the background.
Putting it to use. It leads to the recorder songs, to play whole melodies with what has been learned.
Group exercises: the echo
- Pick a note from the nine buttons below, which follow the usual order for teaching the recorder: B, A, G, E, F, D, C, high C and high D. The score of the exercise appears and, on the right, the recorder with the fingering of the note.
- Each exercise has four blocks of two bars, each with repeat signs. The first two blocks use quarter notes; the last two add pairs of eighth notes. The rhythm is the same in every exercise: only the notes change.
- Press “Play” and there is a one-bar count-in. In each block the model plays first (notes turn blue, “Listen”) and then it is the group's turn (notes turn orange, “Your turn!”), repeating on their recorders what they have just heard.
- A metronome keeps the pulse throughout, with an adjustable speed. The recorder on the right changes fingering with every note that sounds.
- The note initials (d, r, m, f, s, l, t) can be shown or hidden under the score, in Kodály colours.
Each exercise uses its own note plus two already learned, mostly by step, and ends on a note of the C major or A minor chord so it sounds like the end of a phrase. The B exercise is rhythm only.
Solo exercises: the screen listens to you
- Tick the notes the pupil knows and wants to practise (with none ticked, “Continue” stays off). Before the first round, a notice reminds the pupil to find a quiet place without noise; when “Start” is pressed, the browser asks for permission to use the microphone and the first round begins.
- There are 10 rounds. In each one a note appears on the staff; the pupil plays it on their recorder and the screen shows, live, which note it hears and whether it is in tune.
- There are three helps: Hint (shows the fingering; it appears by itself after a mistake), Listen (plays the note) and Skip.
- Every round gives an immediate message: “Perfect!” if it is in tune with a clean start, or advice based on what happened. If it goes wrong, the screen keeps listening: there is a second chance in every round.
- At the end the result is given out of 10 and, if there were mistakes, the two pieces of advice that matter most. If every note is perfect, the message is “You play it perfectly!”.
What advice the screen gives, and why
- The note jumps an octave or is a little sharp: blowing too hard. Advice: blow more gently.
- The note is a little flat: not enough air. Advice: blow a bit harder, without being shrill.
- Another note sounds: the screen says which one sounded and which was asked for, and reminds the pupil to check the fingering (the “Hint” button shows it).
- The sound is not clean, hoarse or whistling: a hole is not fully covered. Advice: cover with the pads of the fingers, leaving no gaps.
- The note is right but the start is messy: articulation is missing. Advice: start each note with a soft “du”.
- Nothing is heard: blow a little harder or move closer to the microphone.
About the microphone
- Nothing is recorded or sent: the audio is analysed on the device itself to find out which note is playing and is discarded at once.
- The browser asks for permission the first time. If it is refused, it can be turned on from the padlock in the address bar.
- It works best in a quiet place with one pupil per device. The solo exercises are designed for the landscape screen.
- The score mostly measures the tuning of the note (whether it is the right one, and whether it is a little sharp or flat), not rhythmic accuracy.
What it works on
Linking each note on the staff with its sound and its position on the recorder, in a more visual way than the usual charts.
Repeating from memory what has just been heard, with the pulse marked, before playing from a score.
Controlling the air, covering the holes well and articulating with “du”: the screen answers every attempt at once.
For the classroom
- One new note at a time. Introduce the note in “Fingerings” (projected, so the fingers can be seen) and practise it straight away with its echo exercise. The order of the buttons follows the usual teaching sequence.
- Echo, in groups. Group A repeats the first block and group B the second; then they swap. It also works with half the class playing and the other half marking the pulse.
- Gradual speed. Start with a slow metronome and speed up when the group repeats without mistakes. The coloured initials help at first and can be hidden later to read from the staff alone.
- Solo recorder corner. On a tablet or computer with a microphone, each pupil ticks the notes they master and does their 10 rounds. It works best with their own recorder and no noise around.
- Self-assessment, not an exam. The score out of 10 and the advice help each pupil know what to correct (air, fingers, start). Ask them to note the result and try again next week to see if they improve.
How to play the recorder well (the game's tips)
The “i” button in the game opens these five tips, which are also useful to discuss in class:
- Gentle, steady air, as if fogging up a window. If it sounds shrill or jumps an octave, you are blowing too hard.
- Holes well covered, with the pad of the finger and not the tip, leaving no gaps. If the sound is hoarse or whistles, a hole is not fully closed.
- Start with “du”: each note begins with the tongue, softly. This separates repeated notes.
- Relaxed mouth and recorder: do not bite the mouthpiece or cover the window with the lips; hold the recorder without squeezing it.
- The left thumb covers the hole at the back: it is the one most often forgotten.